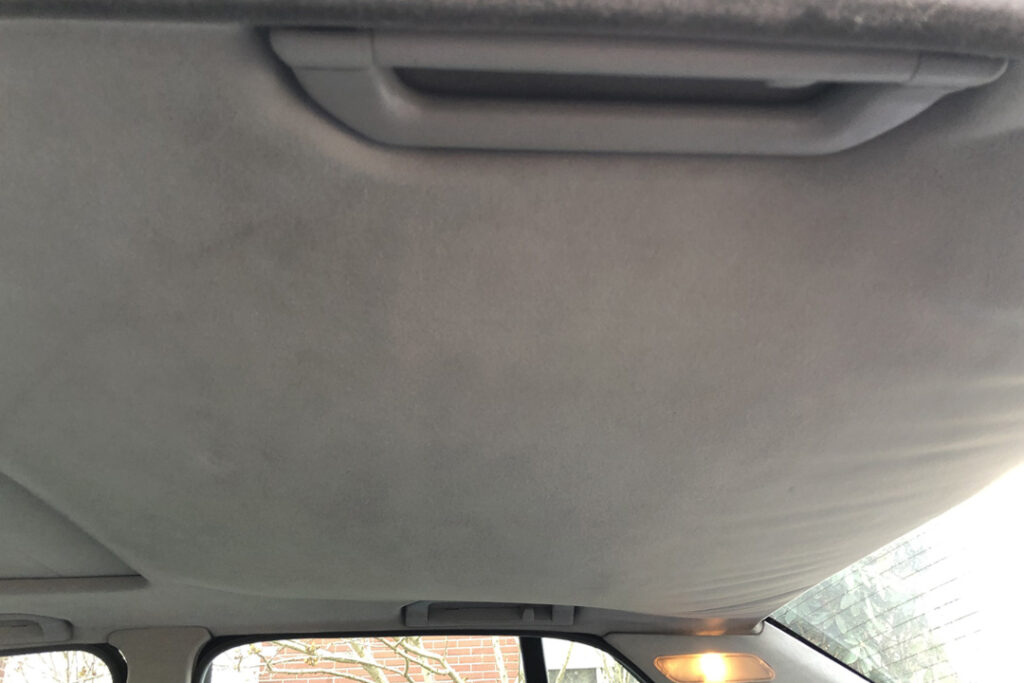
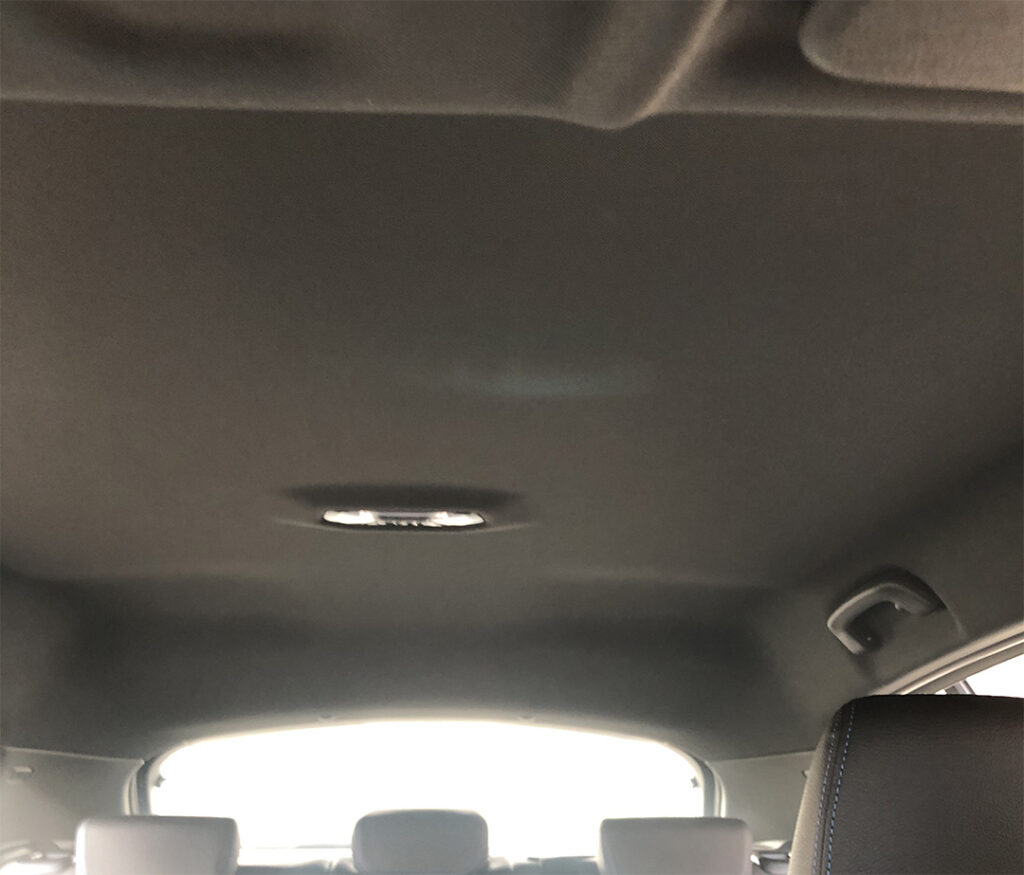
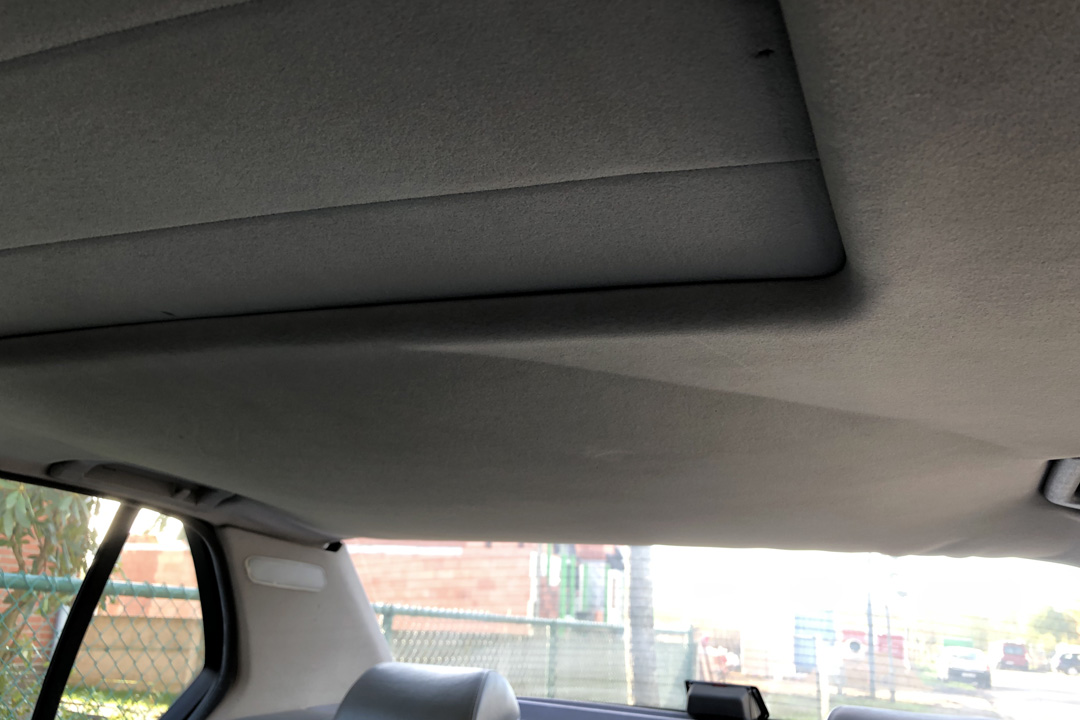
Replacing or repairing your car’s headliner is a job that you can do yourself as long as you have the right tools and have attention-to-detail. Here you will find guidelines for repairing your headliner the right way.
Car headliner repair can involve either temporary or permanent solutions. If you notice that sections of the headliner are drooping, you may be able to reattach these sections using a steam cleaner. A full repair will involve removing the headliner board itself and attaching a new fabric.
In this article, tips for both short-term fixes and permanent repair are included. You will get an idea for how doable of a job this really is. There are a plethora of adhesive products on the market that are designed specifically for the fabrics in your vehicle. Make sure that you are using headliner adhesives like the ones that are listed in this article so that you do not damage any fabric.
Table of Contents
When Does A Car Headliner Need To Be Repaired?

The car headliner is a foam-backed cloth covering that is attached to the ceiling of the car. This part of the car’s upholstery can become detached, often as a result of damage from moisture. Fortunately, this is a part of the car that can be fixed quite easily at home, provided that this repair is performed the right way the first time.
Signs that the car headliner needs to be repaired/replaced include:
- The ceiling is drooping down
- You begin to notice more cuts/tears
- The sound of traffic is noticeably louder; you’re more likely to experience this with a convertible cover
There are a lot of ways to perform patchwork maintenance on the headliner, as will be discussed in the section below—this is an effective measure for saving both time and money, at least in the short-term.
While occasional patchwork may be effective, you may not find years of patchwork to be aesthetically pleasing in the long run. Fortunately, there are ways to remove and replace the headliner on your own, as will also be discussed later.
You May Not Need To Remove The Headliner
Completely removing the headliner may be unnecessary. You can save time, effort, and money by simply taking steps to get the headliner to get back into a position where it adheres back to the roof liner.
If the headliner fabric is sagging or detached, but not damaged or torn, you should be able to easily reattach the fabric to the roof liner using one of the methods found below. Using these methods, you very well may be able to avoid having to remove and replace the entire headliner.
An Adhesive Spray Safe For Car Upholstery
One way to reattach the headliner would be to apply an adhesive spray or glue to the affected area. Look for a spray or glue that is specifically designed for vehicle upholstery fabric, such as 3M Headliner & Fabric Adhesive.
The instructions for 3M Headliner & Fabric Adhesive state the following:
- Peel back the detached portion of the headliner to expose the roof liner beneath
- Turn the nozzle on the bottle of solution to alter the spray pattern
- Apply the adhesive spray to an area 4-8 inches in size
- Evenly reattach the headliner
This is a pretty simple way to try and reattach the car headliner to the roof. All you really need is a bottle of adhesive spray and gloves to protect your hands. You are also encouraged to use a plastic spreader tool to ensure that you apply the adhesive evenly to the target zone.
You may also find success with a type of super glue like Amazing Goop Automotive Adhesive. The glue can be effective if you are trying to reattach small sections of the headliner that are falling off, especially around corners.
Short-Term Solutions To Hold You Over
You may find success with some short-term solutions that will hold you over, at least until you have an opportunity to invest the time and effort into a permanent solution, such as replacing the headliner entirely. Good short term reattachment options make use of staples, pins, and heavy-duty types of tape.
A heavy-duty carpet tape such as this heavy-duty double-sided fiberglass tape will certainly do the trick. You can connect the inside of the headliner and the roof liner. The benefit of using tape is the fact that you do not have the potential to see wet spots that you may see if you use a fabric adhesive like the one listed in the section above.
The disadvantage is that even the heavy-duty tape may not hold up for very long. At best, this is a temporary solution that should buy some time before you decide on whether or not to replace the headliner in your car. It’s possible that this could be an effective measure if the affected area is very small and not clearly worsening.
Perhaps one of the most effective tools for this purpose is the Ricwina Headliner Repair Button. These buttons fasten into the liner beneath the car roof with piercing parts, similar to thumbtacks. This is an effective method for reattaching the headliner to the car. The main question mark would be the style. Some may not appreciate the visuals of the buttons, while others won’t mind and will actually find them quite effective. In the end, it’s all a matter of personal preference.
Using A Steam Cleaner To Treat A Car Headliner
Steam cleaners, like this McCulloch heavy-duty model, are often suggested as tools for cleaning car headliners. The theory is that the steam will help re-adjust the adhesive material so that it will no longer drool down. This technique can produce results, as long as you are careful.
Be sure not to oversaturate the car headliner with steam. This will only make the situation worse as it will potentially cause damage to occur from excess moisture. Avoid spending too much time on any one section of the headliner. This is a hit-or-miss technique as far as taking care of a droopy car headliner.
The steam cleaner can be effective for other reasons other than removing damage, though. It can be an effective way to prepare the headliner for complete removal. The steam can help separate the sometimes stubborn adhesive material from the underside of the roof liner. If you are planning on removing the car headliner, you may find that there are sections of the headliner that are quite difficult to remove. These are designed to last a long time.
How To Remove The Headliner From A Car
The most difficult part of the job is removing the headliner. This is a part of the upholstery that will still be adhered strongly to the frame of the car. There are a variety of safe tools that will make it much easier to remove the stubborn headliner. Here are the steps that you must take to remove your car headliner without issues. These instructions are adapted from this helpful video:
These instructions involve removing the headliner board itself. You will then be able to remove the fabric from the board or get a new board if the board itself has been become damaged.
The age of the car may determine how easy it will be to remove the headliner. Old cars may have headliners that are installed in place and before the windows were installed. As a result, you will have to remove the windows before removing the headliner. You will also need to decide if you want to replace the headliner board itself too.
Before you remove your headliner, you should take pictures of what the interior of your vehicle looks like. This will prevent any confusion later on when you have to re-install the many lights and panels that you remove.
You should place all the parts you removed in a safe location where lights and panels will not become scratched or otherwise damaged. You are encouraged to place all removed parts in a container like a Weikog Plastic Storage Container. There is no need to go overboard, as you should be able to keep parts scratch-free by wrapping them in a shop towel and then placing them within the storage container.
Tools That You Will Need To Remove Your Car Headliner
- Plastic Auto Pry Tool Kit (in order to not damage parts during airbag cover removal)
- Phillips Head Screwdriver, such as this magnetic screwdriver that is more convenient than an entire set
Cover Your Seats
Before removal and installation, you should consider covering your seats and dashboard. This will prevent the possibility that you accidentally spill a chemical or otherwise damage your car seats. A simple blanket that you have lying around should suffice.
Start Out By Disconnecting Your Car Battery
If you plan on removing your car headliner yourself, you must first disconnect your car battery. The reason for this is the fact that your movements will interfere with the mechanisms that set off the airbags in your car. You need to disconnect your car battery at least 1 hour prior to work to prevent yourself from accidentally deploying the airbags.
Remove The Dome Light
Once you have made sure that the battery has been disconnected for at least an hour, you can move on to the next step. This next step involves removing the dome light from your vehicle. Specific instructions may vary from vehicle to vehicle, so be sure to consult your owner’s manual if you have any questions.
In most vehicles, you will probably not be able to remove the headliner without removing the dome light, as there will probably be screws adhering the dome light through the headliner.
- Disconnect the dome light and wires
- In some cars, this may be as simple as adjusting a few clips
- The purpose of this article is to let you know how to repair your headliner in a general sense.
- Look for professional resources for detailed instructions.
After Removing The Dome Light
The dome light is just the beginning of this process. It is not particularly difficult to remove these parts, and you certainly will not need very many tools. The most difficult part is removing the airbag panels without setting off the airbags. You are encouraged to have a work partner present to help you remove these parts.
- Remove the visor by unscrewing it from the headliner, then disconnecting it from the interior wire that it is attached to
- Disconnect and Remove any other lights located along the headliner
- Remove any handles
- You must remove side panels carefully without triggering the airbag
- You are encouraged to use a pry such as this Carwales Auto Trim Removal Tool
- The final step will involve removing any additional panels and lights and finessing the headliner out of the car without damaging any parts of the car
Removing the headliner yourself is a process that takes careful work, as you can see in the abridged directions above. If you have the right tools, it can certainly be done. One of the most difficult aspects is not triggering the airbags. Always be sure to turn off the airbags at least an hour before removing any panels.
Finding Replacement Headliners
It’s easy to find replacement headliner material. You can even buy car headliners online. Some of the more popular items on the market include this USA Fabric Light Gray Auto Headliner and this Headline Doctor Black Auto Headliner. You will be able to choose from several different color options, including this sharp dark gray charcoal material.
Before You Install A New Headliner
If you have just removed the headliner from your vehicle, there is a chance that there may be pieces of foam or fabric that have been left attached to the roof liner even after you took out the old headliner. There also may be remnants of residue left behind from the adhesive material that was originally used to attach the headliner to the interior of the car.
These stubborn materials can be removed with a scraper. This can be the same type of scraper that you would normally use to scrape decals off your glass windows. One of the preferred scrapers would be one that is like this double-edged plastic razor blade scraper. Whatever you use, you want to make sure that it is not so harsh that it scrapes and damages the interior of your vehicle.
Installing A New Headliner

Installing a new headliner in your vehicle requires special attention. For one thing, you have to double-check the fabric fits the dimensions of your vehicle. You will also need to cut out sections to fit all the various panels and lights located along the headline of your vehicle.
Start out by placing the headliner board flat on a shop table or other sturdy surface. Make sure that the side where you will add the fabric is facing upwards. Overlay the fabric over the entire board to make sure that it fits. You should have 2 inches of excess fabric along each side so that you can stretch the fabric out if you make any mistakes.
Then fold the headliner in half and apply it to the headliner board. Place adhesive on the section of the headliner board that is exposed. After applying this section of the headliner, you will peel back the unattached half and apply adhesive to this section of the headliner.
You will have some choices when it comes to what kind of adhesive you use to install a new headliner:
- 3M Headliner & Fabric Adhesive
- Permatex Headliner & Carpet Adhesive
- Loctite Professional Performance Adhesive
Make sure that the adhesive you are using is suitable for use with automotive fabrics. Apply the adhesive liberally and evenly so that you will not have to contend with sections of the headliner dropping down later on.
Once you have attached both halves of the headliner, you should be able to cut out all the spots for the panels and lights that you had to take out. To do this, flip the entire headliner board over after you have ensured that the material has adhered to the board. It should be easy to see the outline of the spots that need to be cut out.
A simple utility knife, such as this Internet’s Best Premium Utility Knife, will be sufficient for cutting out the spots for panels, seat belts, lights, and other inserts. This type of knife will be sharp enough to cut through the foam of the headliner, which is generally not as thick as most carpets.


0 Comments